Generate Procedural, Stylized Rocks in Unity
Asset link: Unity asset store – Procedural Rock Generator
Support: Discord – The Cooking Pixel
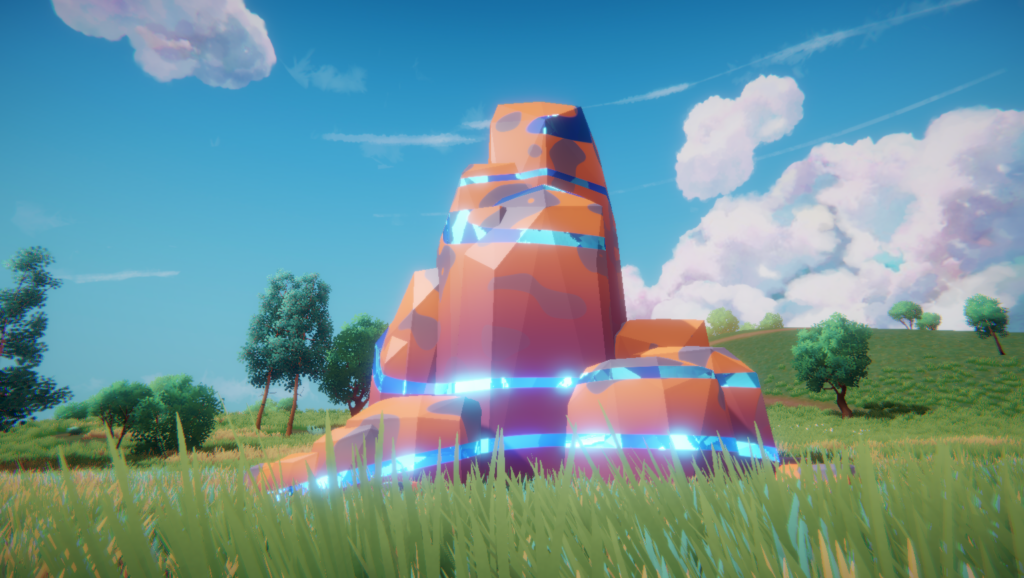
Introduction:
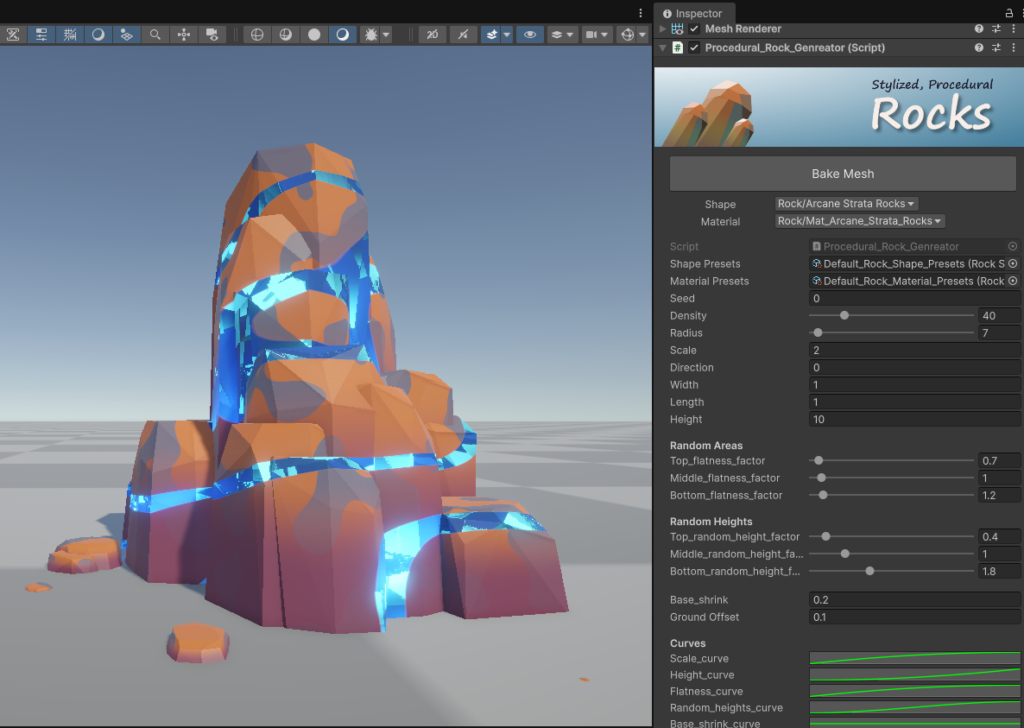
This tool will procedurally generate stylized rock meshes. It comes with an advanced shader which contains both rock and crystal mixed look. If we are fully utilizing all the functionalities of this tool, then we can generate beautiful looking stylized rocks as shown in the images.
Setup:
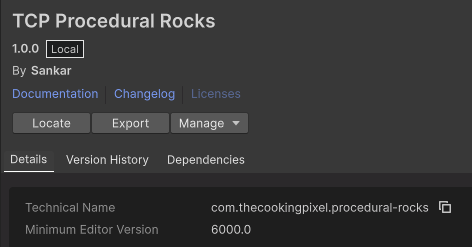
Install the “TCP Procedural Rocks” package from the unity asset store or appropriate stores. “TCP” stands for “THE COOKING PIXEL” which is my publisher name.
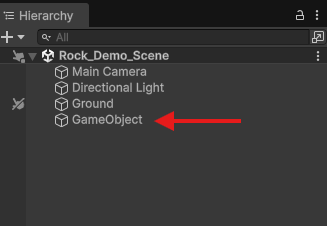
Create an empty game object in the scene
Attach the “Procedural_Rock_Generator” script as a component.
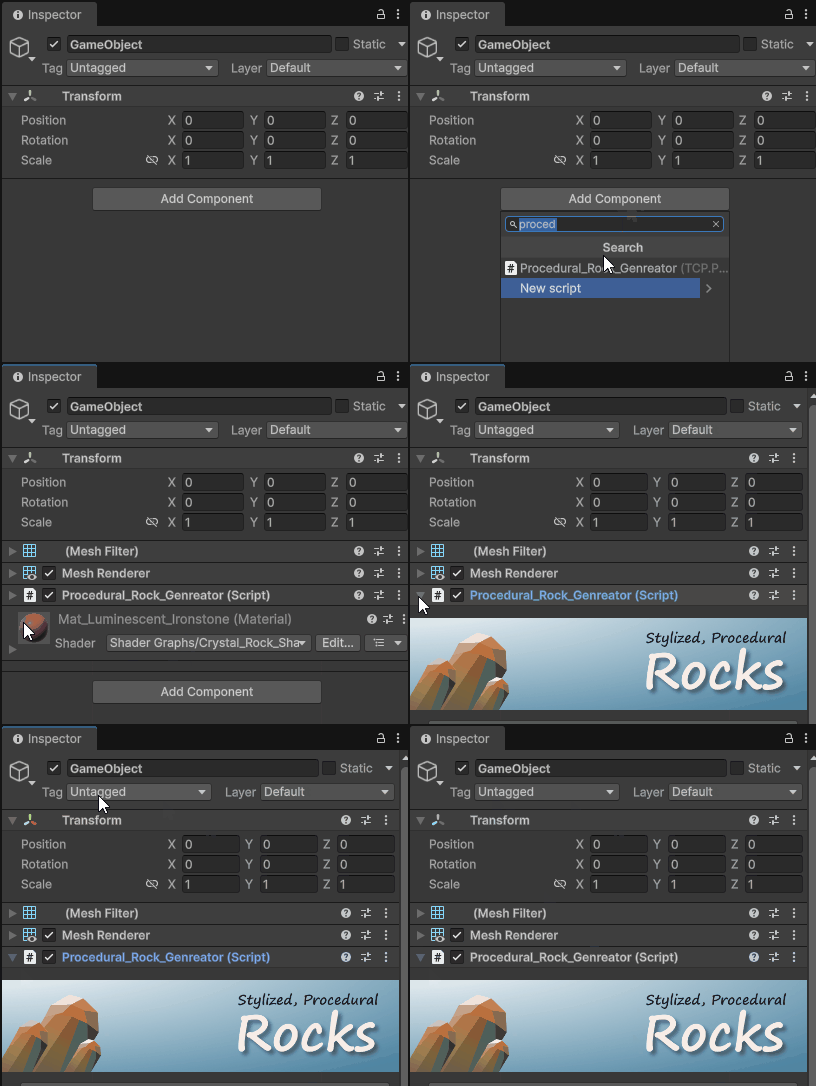
After attaching the script, we can immediately see the rocks in the scene.
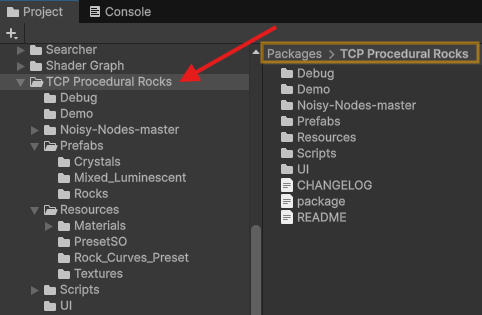
We can find the package in the project window as packages → “TCP Procedural Rocks”. Most of the time we don’t need to know about contents of this package dirs. Because mostly we will work outside of this directory.
Basic Parmeters
- Seed: random integer for generating random shapes.
- Density: count factor of rocks.
- Radius: individual rock distance from center.
- Scale: rock size in both x and y axis.
- Direction: the leaning angle of rocks between 0 to 180 degrees.
- Width: rock size in x axis.
- Length: rock size in y axis.
- Height: height of rocks
Presets:
Note: you can go to the “how to create presets” section to know about how to create these presets.
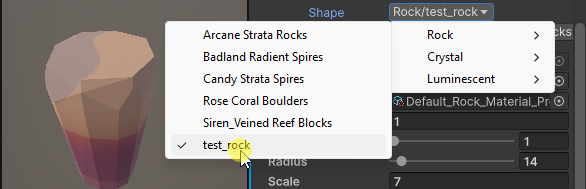
This tool comes with default shapes and material presets, we can see them in the Shape & Material dropdown menus.
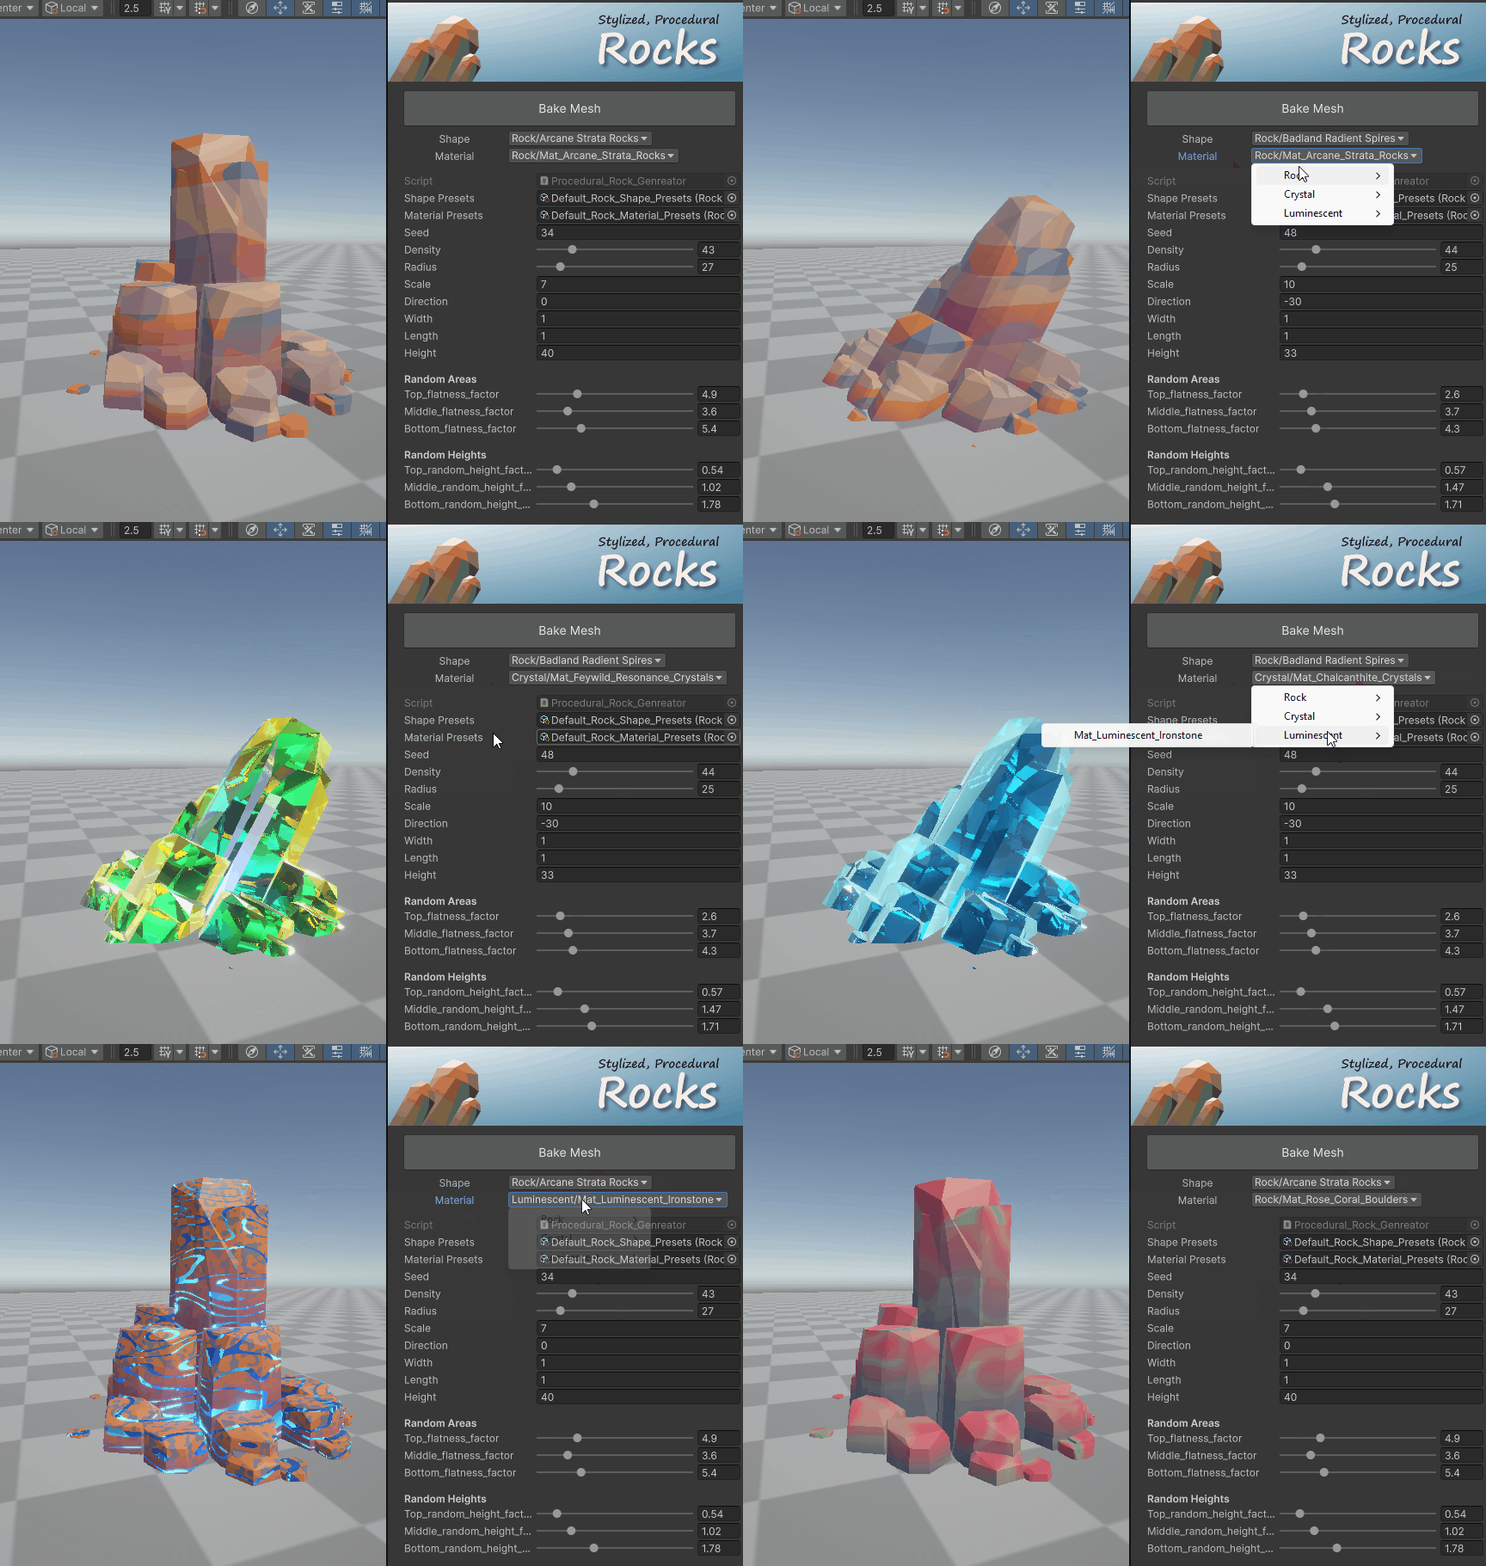
When changing the presets we can see that the respective parameters are updating in the inspector such as Density, Radius, Scale, Areas, Heights..etc.
- The Shape dropdown will contain the presets for the rock mesh shapes.
- The Material Dropdown will contain the presets for the rock material types
- Both type of presets are subdivided into separate groups such as
- Rock
- Crystal
- Luminescent
Random Areas & Heights:
Technically the rock head shape is divided into 3 group of vertex rings as
- Top ring ⦿ ( orange color dots )
- Middle ring ⦿ ( blue color dots )
- Bottom ring ⦿ ( greencolor dots )
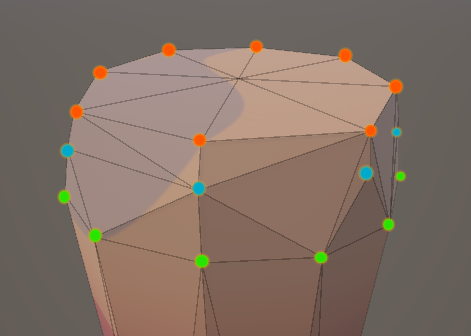
Usually we can see only the top ring vertices when the random areas & heights values are set to zeros.
Note: The ring which is touching/inside the ground is not considered as the Bottom ring. We can call it Base.
The Random Areas & Heights are the main parameters which turn a simple cylindrical shape into stylized rocks, we need to understand these parameters properly to get the shape of stylized rocks. These parameters will modify the vertex rings. The areas and heights contain 3 factor controls respectively for each of the rings.
- The Random Areas will move the ring vertices in the XZ-local space of the rock
- In the below gif we can see how the XZ positions of the vertices update when changing the random areas factors of top, middle & bottom.
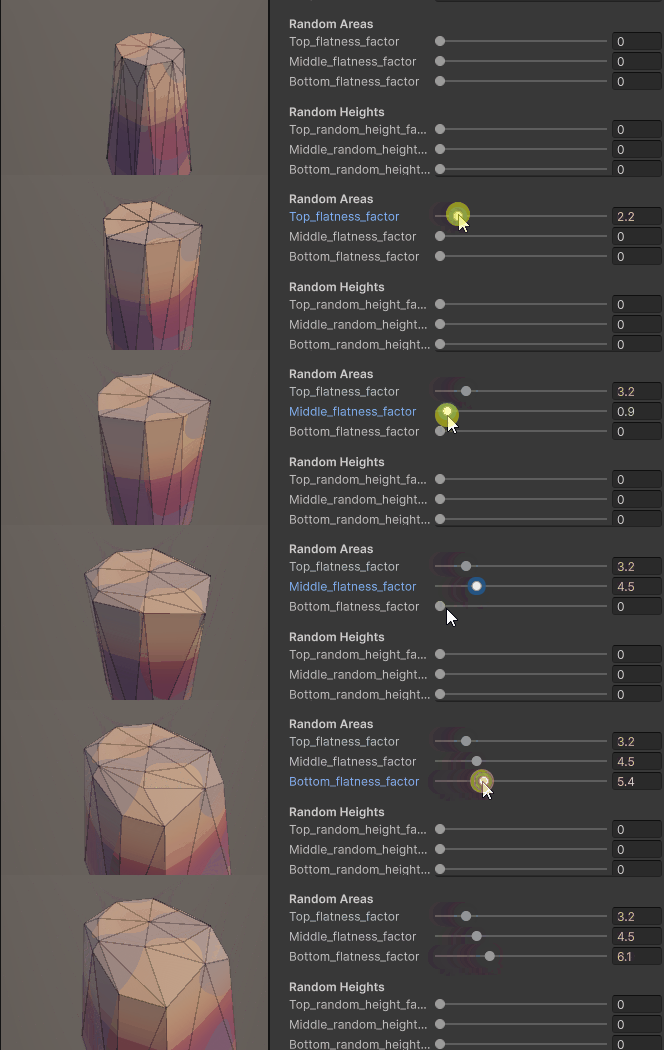
- The Random Heights will move the ring vertices in the Y-local space of the rock. That means
- In the below gif we can see how the height of the vertices update when changing the random height factors of the top, middle & bottom.
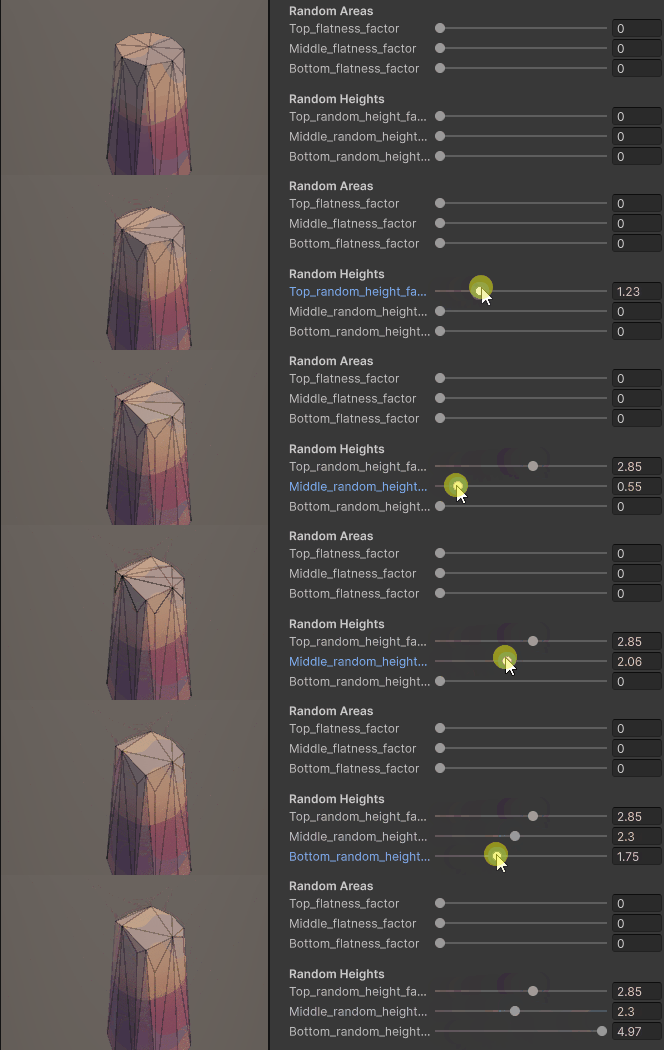
In the below gif we can see the both Areas and Heights are in action.
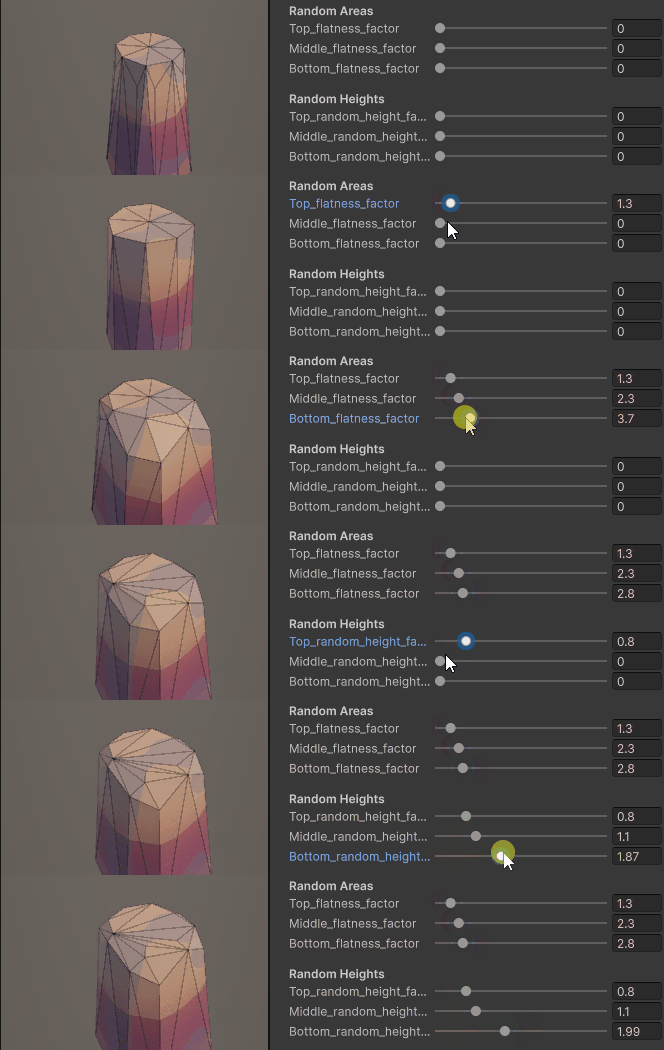
How To Create Presets:
Change the values of the parameters of the rocks as how you want, and create it as prefab by simply dragging it into your project folder.
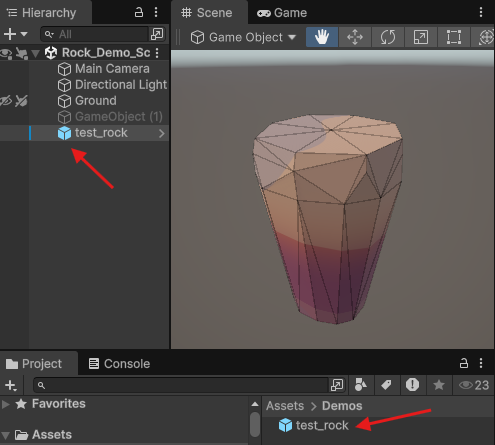
We need to use the Rock_Shape_Preset_SO scriptable object in order to call this in the shape dropdown menu. To do that we have three alternative methods.
Method 1: Create the empty Rock_Shape_Preset_SO via the right click menu of the project window.
Right click → Create → TCP → Procedural Rocks → Preset SO → Rock Shape Preset SO
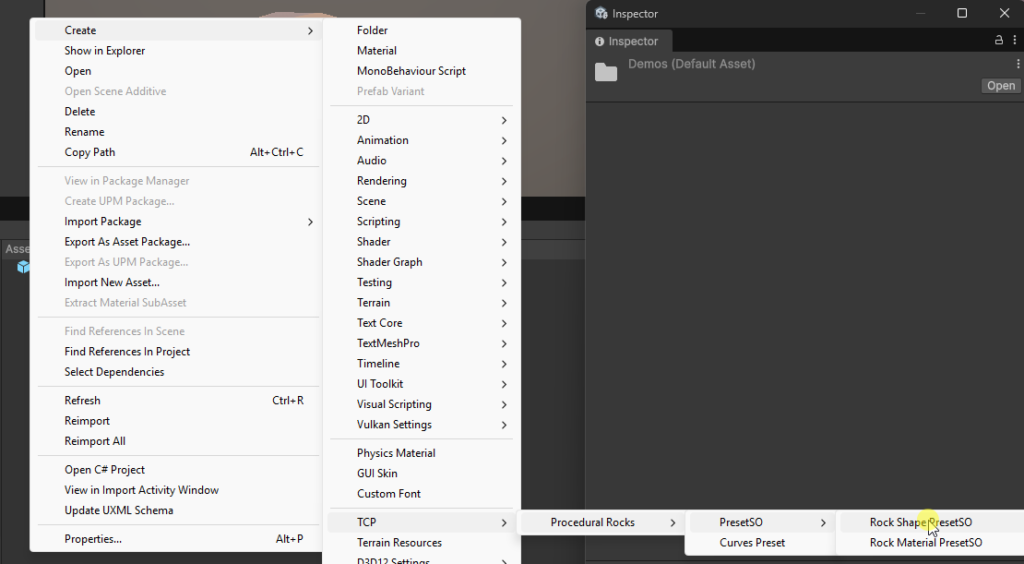
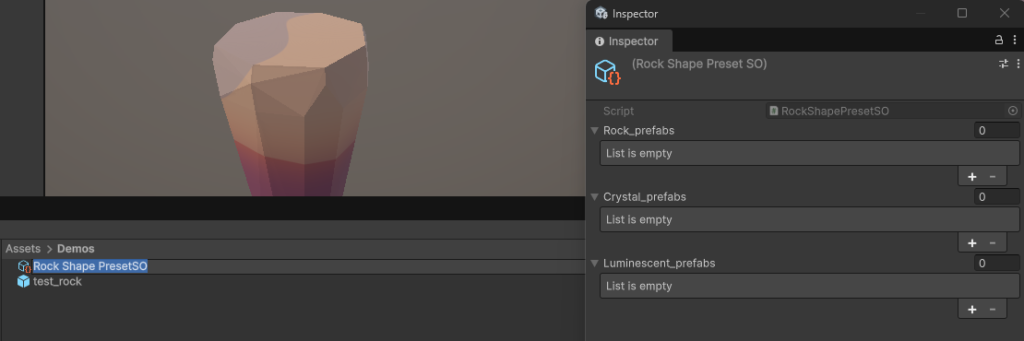
Then in the project it will create an empty scriptable object of the Rock_Shape_Preset-SO and inspector we can see like below.
Method 2: use the existing default Rock_Shape_Preset_SO scriptable object which is existing at the path
Packages → TCP Procedural Rocks → Resources → PresetSO →Default_Rock_Shape_Presets
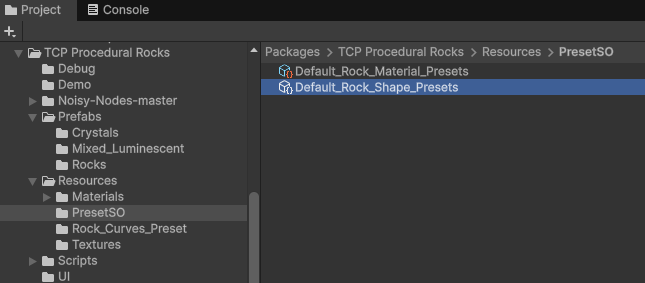
For this example I am using method-2, In which we are using the default_shape_preset_so. In the inspector we can see there are separate prefab lists for each rock, crystal & luminescent types.
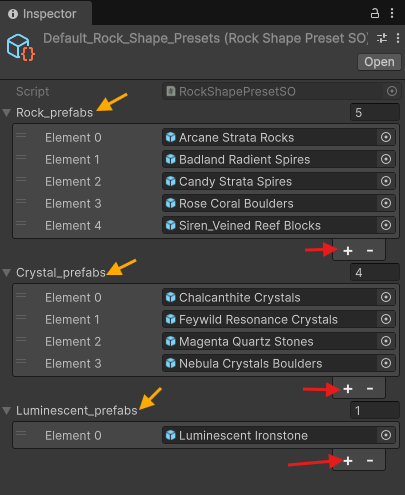
Based on looks of your rock type like Rock, Crystal or Luminescent add that in respective lists by simply clicking the “+” button in the inspector properties.
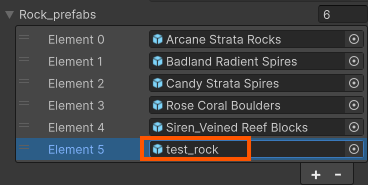
Now if we enable/disable the inspector ( I mean just reopen/click on the test_rock prefab in the hierarchy) OR create new gameobject and assigning this procedural_rock_generator script, then we can see that the “test_rock” in the Shape DropDown via the Rock menu → test_rock.
Curve Controls:
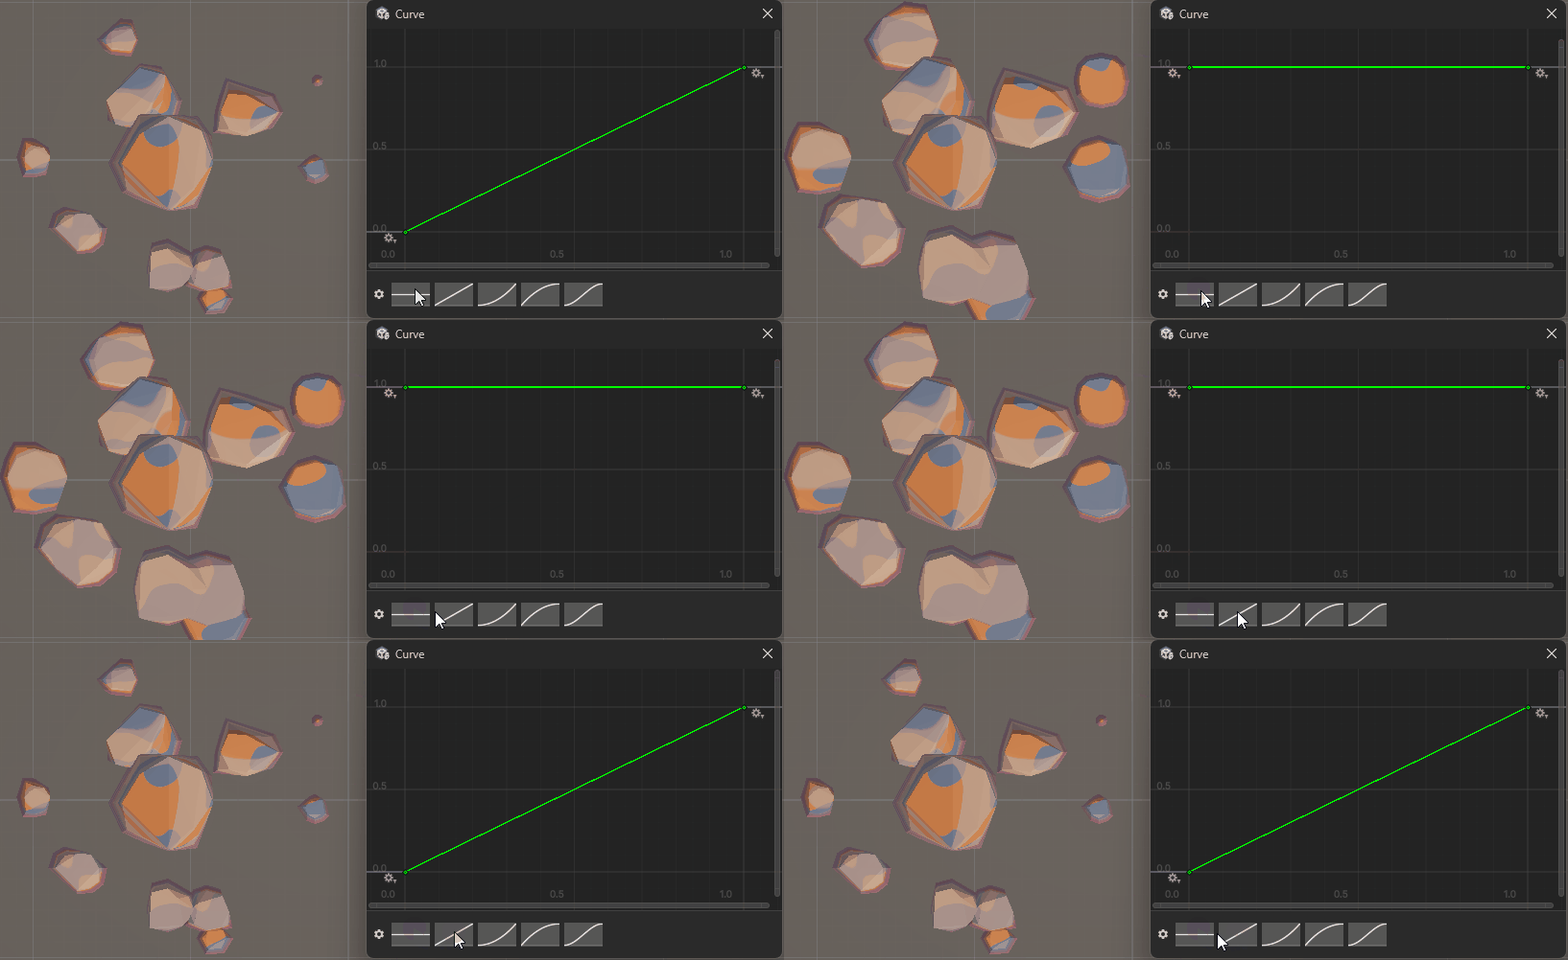
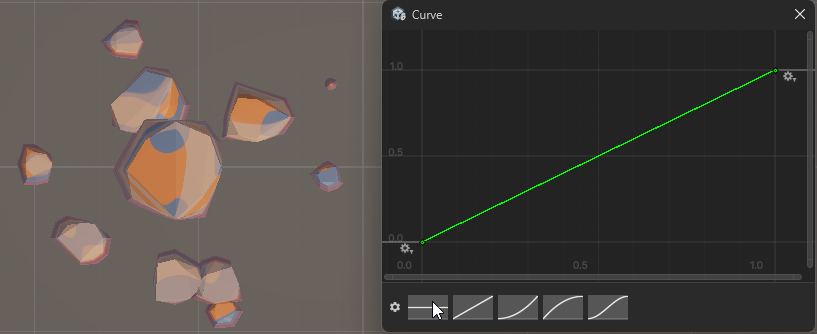
Curve controls update the rock mesh based on the distance from the local space center to the rock. These factors will multiply with the respective scale/height/flatness … etc based on the distance. To better understand, I will take the Scale_Curve parameter for explanation.
In the below image the rocks are visible from top to bottom. Besides there is a scale curve controlling window ( this will open when we click on that parameter ).
- All rocks have almost in similar XZ-scale when the curve value is constant.
- The nearby center rock will be multiplied by the scale factor 1 and as well as the farthest rock will also multiply the scale factor 1 only
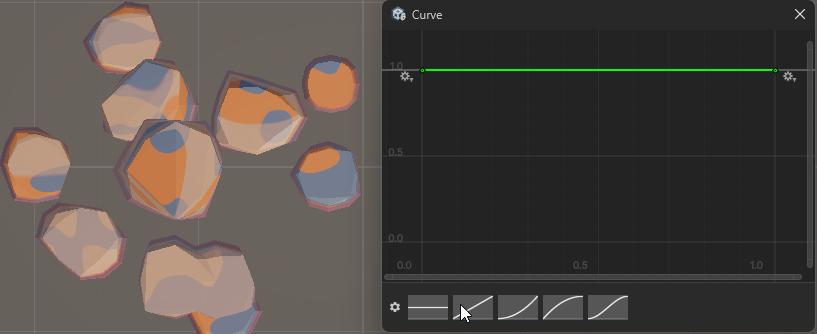
Now in the case of the linear increment like from 0 → 1 as in the below image, then the nearby center rocks won’t be affected much by the factor, but farthest will be affected and they will get small size.
Shaders & Materials:
This package comes with 2 Shaders